DDS Bricks in the Air
Note
This repo has been archived, to see the currently maintained version hosted by the Aerospace Village, go here
Hack the Plane with Legos and Arduinos!
This challenge was originally developed for Defcon27 in the Aviation Village. Improvements have continued since then. The concept is to create an environment that requires similar approaches to hacking actual aviation buses without using any of the real hardware, protocols, or commands. Challengers can freely play and develop skills without worrying about legalities or sensitivities of real systems. This also makes it much cheaper and easier for people to replicate.
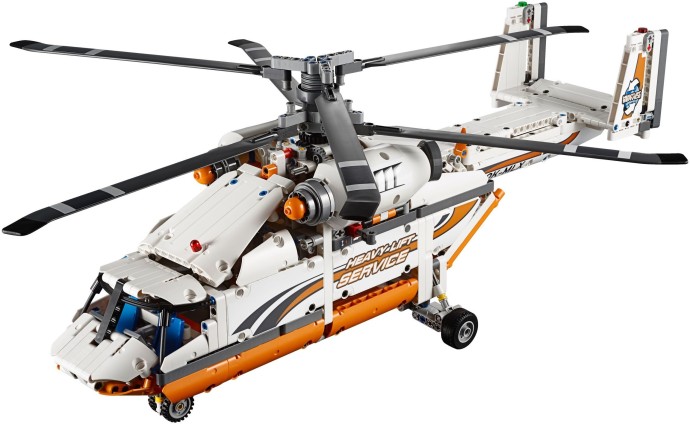
Pictures of the kits are contained below but check out the LegoKits page for more info on each kit.
LEGO Power Functions IR Receiver (8884)
LEGO Power Functions IR Remote (8879)
We added the LEGO Power Functions IR Receivers to control the motors in the models. These receivers have 4 IR manually selectable channels and two (Red and Blue) data ports that can be used at the same time. The IR receiver also provides PWM to motors and lights connected to it. I recommend picking up the kit which includes the battery pack, motor, LED’s and a hand full of extras. The LEGO Power Functions IR Remote was also a huge help in testing and setup.
The PCB was designed in KiCad, a cross platform, open source, electronics design suite.
The board is basically three ATMEGA chips running the Arduino stack, each with their own IR, Serial, and programming ports. They are all connected to the same I2C bus. The original intent was to have three different systems, say engine, landing gear, and other accessories, being controlled by different chips. The challenge as it was run has the same code on all three and only worked with the original single motor in each model. We ran out of time to expand it.
It is worth noting that an Arduino Uno with an IR LED and resistor connected to it will work as well.
The PCB design and code can be found in the Main Board directory.
We used the Bus Pirate to interface with the Arduino over I2C.
Why? Well on several actual avionics buses, the system is set up on a bus much like I2C where you have a master and several slaves. Once you have physical access, you are a trusted device that does not need authentication. I2C fits a lot of these characteristics using widely available cheap hardware. This allows us to provide an environments that stays true to the nature of the challenge while avoiding legal issues. The skills learned here is also applicable to other I2C buses which are popular in consumer embedded electronics.
The FlySafe Developers guide is also included which describes the details needed to get started with the control protocol the challenge was using. This guide is intended to be handed out to people tackling the challenge.
Well, the smoker was originally a last minute add-in that was hacked together using an air pump, and esig, an 18650 Lithium Ion cell and some creative circuitry. It basically used the Red port on the LEGO IR receiver to turn a FET on for 10 seconds, which activated the cartridge and pump.
Our Electrical Engineer was on site to keep on eye on everything during the competition but the design was not ready for prime time. Additional safety features to prevent overheating if the IR OFF command was interrupted needed to be added to prevent an unsafe situation.
We have now built in those precautions and detailed the build instructions in the flogger folder!


