sbfspot-config is a semi-automated configuration and installation tool for SBFspot on Raspberry Pi running Raspbian.
This tool installs precompiled binaries of SBFspot/SBFspotUploadDaemon, configures SBFspot including crontab and the daemon for PVoutput uploads.
When finished, you should have a complete working system.
To install the latest SBFspot release: (
sudo bash -c "$(curl -s https://raw.githubusercontent.com/sbfspot/sbfspot-config/master/sbfspot-config)"
To install a specific SBFspot release (e.g. 3.5.0):
sudo bash -c "$(curl -s https://raw.githubusercontent.com/sbfspot/sbfspot-config/master/sbfspot-config)" -s 3.5.0
This tool needs to run as root. Depending on the chosen options, it installs software packages such as sqlite3, mysql-client, mariadb-client and writes to locations where a locked down user can't write. If you're uncomfortable with this, either quit here or have a look at the script first.
sbfspot-config uses whiptail for the dialog boxes. You might be already familiar with it by using raspi-config (Yes, I took a close look at this one) Anyway, to navigate in the menus, these keys are important: [ENTER], [SPACEBAR], [TAB], [ESC] and [UP/DOWN ARROWS]
When you enter the above command, the latest version of sbfspot-config is downloaded and executed as root. Below I explain the bare minimum steps to configure SBFspot:
When an older SBFspot.cfg is found, you can use this one to reconfigure.
Remember: it's always a good idea to take a backup of an existing database (SBFspot.db in case of SQLite)
Depending on the connection of your inverter, select "Connection Type => Bluetooth" or "Connection Type => Speedwire"
Selecting Bluetooth launches hcitool scan to get the list of SMA devices. This takes some time to complete.
Enter 1 or more fixed IP addresses.
Select a database you want to use. If you don't have already MySQL or MariaDB server running, SQLite is your best option. This howto doesn't cover MySQL/MariaDB server setup. There are two SQL scripts to create the SBFspot database and the SBFspot user. If you don't need a database, you can select NoSQL.
This section requires a PVoutput account and an enabled API key.
Feel free to explore the advanced options for bluetooth, csv output, ...
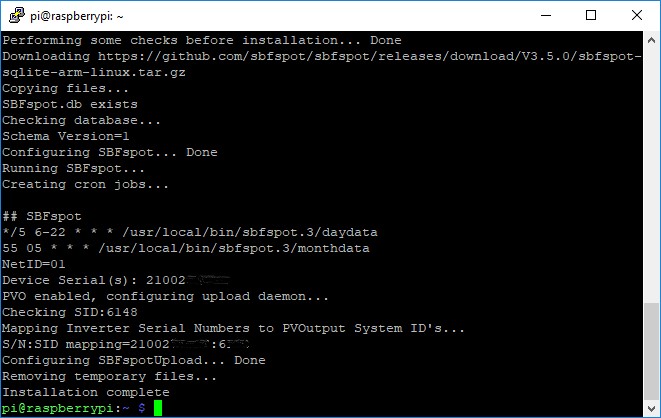
When everything is configured, select [INSTALL] at the main window. Some preflight checks are done and if no issues are found the installation starts.
If everything is OK, you should see the final "Installation Complete" message


