-
Notifications
You must be signed in to change notification settings - Fork 0
Gitlab安装
Gitlab官网
Gitlab中文手册 (熟练阅读英文文档是上上策)
Gitlab包下载网址
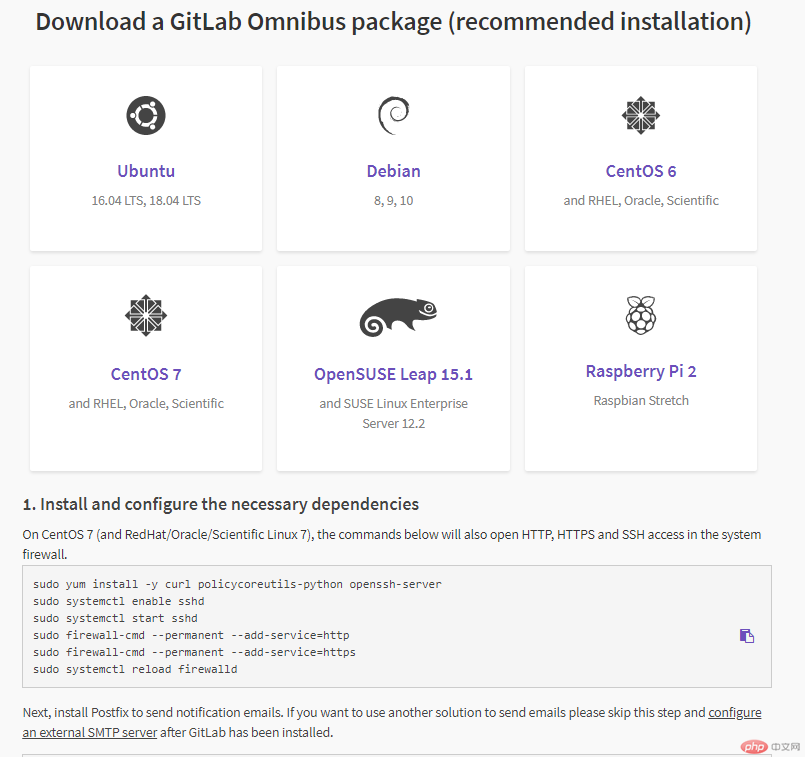
在Gitlab官网上选择对应的系统版本,下方会显示对应的安装方法。我选的是Centos(接下来所说,都是基于Centos7)7如下图:

具体如下:
sudo yum install -y curl policycoreutils-python openssh-server
sudo systemctl enable sshd sudo systemctl start sshd
sudo firewall-cmd --permanent --add-service=http
sudo firewall-cmd --permanent --add-service=https
sudo systemctl reload firewalld
sudo yum install postfix
sudo systemctl enable postfix
sudo systemctl start postfix
其中,在执行
sudo firewall-cmd --permanent --add-service=http
时,可能会报防火墙未启动的错误“firewalld is not running”。
启动防火墙即可,执行命令:systemctl start firewalld。
官网的下载包是在服务器上直接通过命令行安装下载,在实际执行中,常常下载失败,且花费的时间太多。所以建议先通过浏览器,将包下载到本地,然后传到服务器。之后跳转到包上传的目录,执行安装命令:rpm -i 包名。如rpm -i gitlab-ce-12.5.7-ce.0.el7.x86_64.rpm。
在选择包时,也要和自己的系统版本相对应。比如,我的系统版本是centos7,所以我选择的包是el/7。其中,ce是社区版,ee是企业版。我们一般是选择社区版。
安装完包后,需要对Gitlab进行一定配置。可以直接到配置文件进行配置:vi /etc/gitlab/gitlab.rb。其中主要需要配置的是域名,如下图。将图中马赛克部分配置成自己的域名。
systemctl restart gitlab runsvdir
然后再重新执行Gitlab配置文件重启命令。
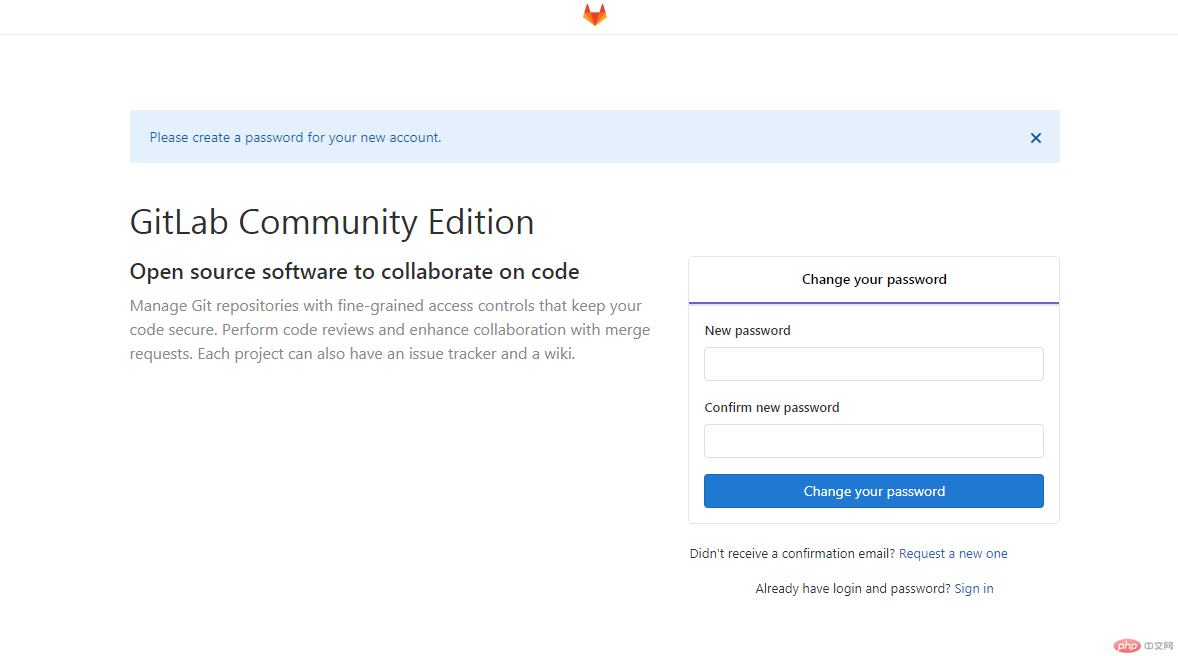
当以上都结束,可以尝试验收成果了。在浏览器中,输入主机名,回车。